My First 3D Printing Project
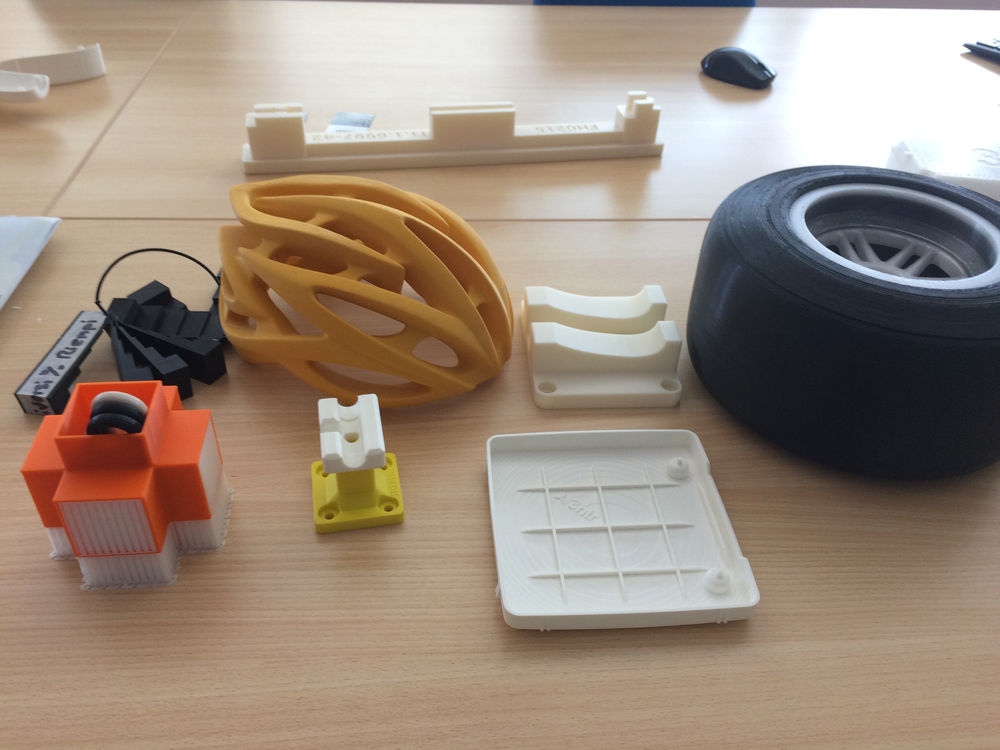
Prior to any great product or invention, there is typically a prototyping/R&D stage that occurs before any final/end-use product is produced. It often starts with rough pad & pencil sketches of how this item will look, what colors it will have, the outline of its features, and so on. It’s a typical “concept phase” that you can find in industries suchas fashion, automotive, construction, and many other professions. With 3D Printing, the only link that separates a drawing on a notepad to a tangible item is using a CAD software to design the part. Once we are ready to create this initial first run, using a 3D printer serves as an inexpensive and relatively swift means to producing the prototype for the product you are trying to make. If you don’t have the time, energy, or resources to print out a part on your own, service bureau’s are a great way to get your initial prototype started. For this blog I plan to go through the design-to-part process with you, and hopefully illustrate a better understanding of how to Additively Manufacture a part.
My first exposure to 3D Printing was diving head first in designing, slicing, and printing out a custom part of my choosing. Fortunately I had taken a few CAD courses prior to this, so I already had a fundamental understanding of industrial design. I was challenged by Plural Additive Manufacturing to come up with any part that I could think of, design it, setup the printer, and make a part. After some thought, I decided that I would create a custom business card holder as a simple, but functional first 3D part. I think the greatest feeling a maker gets is when they take an idea in their head, and process out how to make that concept become a real, end-use part. If you are interested in the 3D printing and want to get involved check with your local library! Libraries have become adopters of the technology within recent years and typically allow the public use them at little to no cost!
Sketching on Paper

To begin, I gathered dimensions from the size of a standard business card and drew up some sketches of what I wanted this part to look like. With the starting point/datum of the card size, I focused on building everything outside.around that particular card size (3.5” x 2”). I knew that I wanted to have a spot somewhere that I could store pens, so I added some pen holders on the back of the part. Beneath where the cards would sit, I also added a ½ inch deep/wide slot where thumbtacks and staples could be stored. After drawing up some rough measurements of this part, I am now ready to design this prototype in CAD.
Drafting in CAD

With my Computer Aided Design (CAD) software (Fusion 360), I started to draft these sketches into a 3-Dimensional object with the precise dimensions I drew out. I kept the original sketch of the part virtually the same in my CAD model, but added a few rounded features on the corners (radius') to clean up the aesthetics of it. CAD is a great tool to get familiarized with in any sort of engineering field, but is also common with designers, planners, and other various construction/manufacturing fields. Whether you are making a titanium part that will be machined, printing out a plastic part on your desktop 3D printer, or building out a new commercial building layout...it all starts with modeling your design in the computer. There are many different CAD softwares out there suchas Catia, SolidWorks, and Inventor to name a few, all varying in their complexities. For this project Fusion works great because of the simple geometries, and minimalistic design that I gave the card holder. Once I had my design nailed down, it’s time to send this STL file off to be sliced before it goes to the printer.
Slicing My Part
One similarity among all 3D printers is the need to slice a CAD model into layers. There are a wide variety of different slicing softwares available in an open sourced platform where any user can download the program for free. For the printer I am using, the KiSSlicer software is directly tied to the parameters and capabilities of the 3ntr printer. Fortunately for me, the particular design I chose for this part is "designed for Additive Manufacturing," so there is minimal post processing needed to be done to the part once it’s printed. There is a little bit of overhang on the part, so I adjusted the slicing settings to provide support material on that edge of the part. Overall though, the part itself was fairly straight forward and didn’t give me any sort of headaches because I knew the limitations and restrictions of the 3ntr printer I used. Once I am satisfied with the slicer settings, the computer will slice the part into individual layers, which will generate a .gcd or “G Code” file that will tell the printer where to move, and when to deposit material onto the carbon fiber build plate.

Prototyping

A good form of habit before developing a final product is to run a prototype of that model. Often times this initial run can be scaled down to reduce time/material in the development stage. For this case, I scaled down my prototype model by 50% to quickly print (~5 hours) my initial model to be able to touch and see the first iteration of this design. This way, I would save time in the first go of things and if I wasn’t satisfied with the design I can iterate quickly, reslice, and then reprint the prototype again. For a quicker print, I set the infill % of this print to 10% (see picture below), meaning that 90% of the internals of this prototype will be completely hollow. One of the cost/material saving benefits 3D Printing brings to plastics is ability to produce the same structural integrity as compared to a completely solid injection-molded part...while using significantly less material. Fortunately for me, I was happy with how my initial part turned out so I went back to KiSSlicer to load the full sized part and generate the G Code once more.
Finished Product

Now that I know I am happy with my initial concept, I am ready to make the full sized version. One thing to note was that I “purged” the printer nozzle in between changing the clear ABS material to a red ABS. This is a good preventative measure when using a new material to ensure all of the old material has left the nozzle, and to avoid any clogs before running a long, overnight print. After I re-sliced the part at full size, changed out to a red material, and cleaned the reusable print bed, I am ready to print. This time I set the infill percentage to 33% to ensure optimal strength in my part if it were to be under any type of stress. See the final result in the left picture!
Often times for beginners, there can be a huge misconception that 3D Printing is this vastly complex technology that few have the knowledge to operate. While that may be true to some respects, the barrier to entry in 3D Printing is becoming increasingly lower with intuitive CAD softwares and affordable desktop printers starting around $100. Similar to cell phones, the more a product/technology matures, the easier it is to use and can be accessed widely by the general public as time goes on. I have a strong belief that the same type of maturation will happen in the world of 3D Printing to the extent of having one in every household worldwide!
I hope to continue to illustrate the raw capabilities and endless applications that Additive opens up to every industry, and every imagination out there. The more we discuss and share our findings, the quicker we can improve upon our designs/techniques/methodologies for producing that perfect part!
Still confused about the 3D Printing process or nervous of making mistakes your first go of things? #Makerspaces are a collaborative community of #tinkerers who are obsessed with the art of hand craftsmanship and pride themselves on their ability to make just about anything. Most of these institutions will have intro level classes where you can learn the basics of CAD modeling, slicing, and running a 3D Printer. I'm happy to share that there will be upcoming content blog articles on a few makerspaces in the Los Angeles area that have helped me in my pursuit for learning how to #make. If you are curious about trying out this different type of learning environment, just type "makerspace" into Google and find one nearest to you!
As always, if you need help getting started or have questions about 3D Printing I am more than happy to help!
makingmadesimple@gmail.com


